
TECHNOLOGY
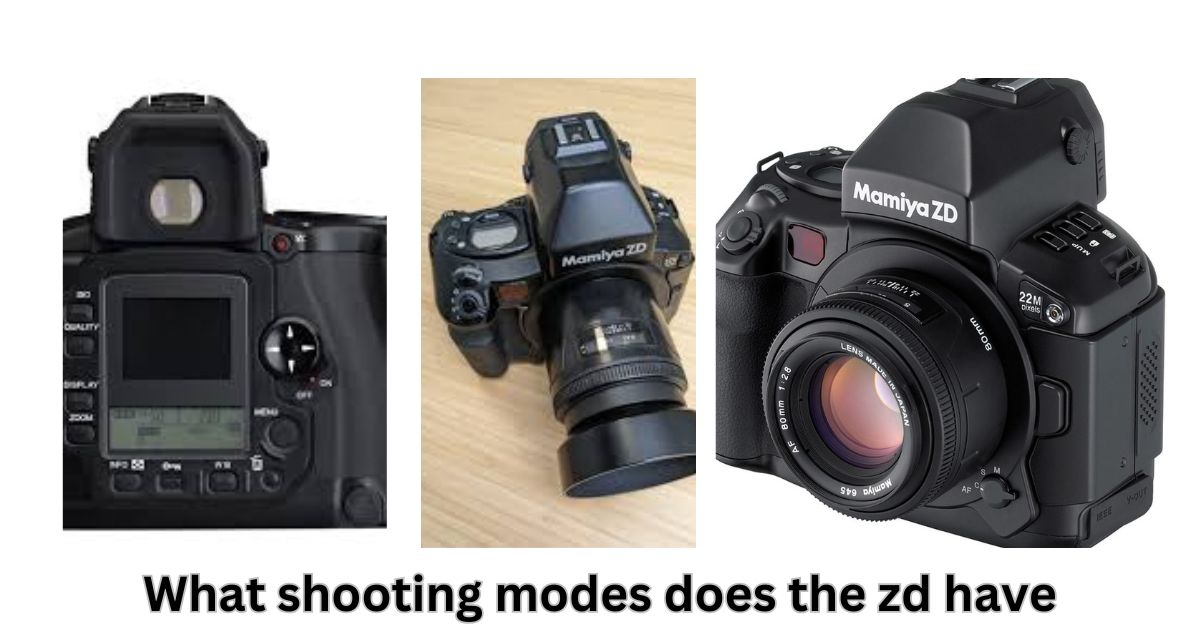
Exploring the Shooting Modes on the ZD Camera

Inserting a SIM Card into Your Lenovo Flex 5 to mobile broadband via a cellular modem, this guide will walk you through the simple process of inserting a SIM card into your laptop. By enabling LTE connectivity or even 5G (if supported), you can stay online wherever you go—no Wi‑Fi required. Let’s get started with setting up your device’s SIM tray so you can enjoy fast, on‑the‑go access.
Why Mobile Broadband Matters for Your Flex 5
Many modern laptops come with the capability to use a SIM card for direct internet access. The Lenovo Flex 5, when equipped with a WWAN (Wireless Wide Area Network) module, transforms into a hotspot-ready machine that lets you avoid relying on public Wi‑Fi. Whether you’re running Windows 10 or Windows 11, setting up cellular connectivity ensures your device remains online securely, whether in a café, at a park, or traveling abroad.

Understanding Your Lenovo Flex 5’s SIM Tray
Before we go further, it helps to know what components we’re dealing with. The internal SIM tray is a tiny slot located on the side of the laptop—usually near the USB‑C or headphone jack. Inside, you’ll often find a micro‑SIM or nano‑SIM format, depending on the WWAN card. Lenovo’s documentation also refers to the cellular expansion as the “WWAN slot,” backed by hardware like the Qualcomm Snapdragon X55 modem to support LTE or 5G.
Preparing to Insert the SIM Card
Power Down Your Device
First, shut down your Lenovo Flex 5 completely using the Start menu. This ensures you don’t risk damaging the SIM reader or losing connection configurations stored in the operating system.
Gather Tools
You’ll need either the SIM‑eject tool that shipped with your package or a small paperclip. These help gently eject the SIM tray without scratching the chassis.
Check SIM Form Factor
Ensure the SIM card from your carrier is the right size (nano or micro). If not, a SIM adapter can convert nano to micro. Also, verify that your plan includes a data-only SIM suitable for laptops—smartphone SIMs may not provide consistent performance.
Inserting the SIM Card into the Lenovo Flex 5
-
Locate the SIM slot – Usually found on the right side of the Lenovo Flex 5 behind a small plate marked with a SIM icon.
-
Insert the eject tool – Apply gentle pressure until the tray pops out.
-
Load the SIM card – Place the card into the tray with the gold contacts facing down. Ensure it fits flush and clicks gently into place.
-
Reinsert the tray – Slide it fully back into the slot until you hear a soft click.
This physical setup readies your device for the next step: software configuration.
Configuring Cellular Settings in Windows
Now that your SIM is in place, it’s time to get connected.
Open Network & Internet Settings
Go to Settings → Network & Internet → Cellular. Windows should detect the SIM card and list available mobile networks.
Activate Mobile Data
Click on the detected cellular plan and toggle “Connect automatically.” Within moments, your Flex 5 should show an LTE or 5G icon in the system tray, indicating a successful connection.
Adjust APN and Band Preferences
Under advanced options, you can select bands or update the APN (Access Point Name) based on your carrier—useful if you imported a SIM from another country.
Optimizing Mobile Broadband Performance
Once online, making sure everything runs smoothly depends on a few tweaks:
-
Update Cellular Drivers
Check Lenovo Vantage or Device Manager for updates to your WWAN adapter’s firmware and driver. This improves speed, reliability, and network compatibility. -
Enable Data Saver
In Windows, toggle on Data Saver under Settings → Network & Internet → Cellular to limit background data usage and extend your plan. -
Monitor Data Usage
Use Windows’ built‑in graphs or Lenovo’s own monitoring tools to avoid unexpectedly hitting data caps—even better if you switch frequently between Wi‑Fi and cellular. -
Improve Signal Strength
Keep your wireless card away from thick metal surfaces or interference. Using an external antenna cable (if your Flex 5 supports it) can also boost reception in low‑signal areas.
Troubleshooting Common Issues
Even though inserting a SIM card is straightforward, you may encounter some hiccups:
-
SIM Not Detected
Ensure it’s placed gold‑side down and fully seated. Remove, reseat, and restart your laptop. If still undetected, try the SIM in another device to verify it works. -
Cellular Option Missing in Settings
It could be due to missing WWAN drivers. Open Device Manager, look under “Network adapters,” find your cellular module, and install updates via Lenovo’s driver portal or Windows Update. -
Slow Speeds or Disconnections
Check your carrier’s coverage map. Even LTE‑capable hardware can underperform in fringe‑area conditions. Adjust APN settings or switch bands in Windows based on provider recommendations. -
Roaming Problems
Enable “Allow roaming” under cellular options if you’re abroad. Remember, this could incur extra charges—check your roaming plan before leaving home.
eSIM vs Physical SIM: Which to Choose?
Some variants of the Lenovo Flex 5 support eSIM, allowing you to digitally activate cellular plans without a physical card. Here’s a quick comparison:
-
Physical SIM: Easy to swap between devices; works worldwide without needing to download profiles.
-
eSIM: Cleaner setup with no tray; ideal for frequent travelers who use carriers that support download‑to‑device provisioning.
Check your model’s specs and Windows Edition—if you see “eSIM” support, you might prefer activating with QR codes from a carrier portal instead of handling plastic.
Advanced Tips for Power Users
-
Use Cellular as a Hotspot
In Windows, under cellular settings, enable “Share my Internet connection with other devices” to turn your Flex 5 into a portable Wi‑Fi hotspot—a lifesaver for tablets or phones when you don’t have local Wi‑Fi. -
Combine with VPN
For maximum security on public mobile networks, set up a VPN client like NordVPN or ExpressVPN before connecting. This encrypts your data, keeping your browsing safe. -
Enable Battery Saver
Cellular connectivity uses power. Activate Battery Saver or lower screen brightness during long connectivity sessions to preserve battery life.
FAQs
1. What size SIM card does the Lenovo Flex 5 use?
Most models use a nano‑SIM, but some older WWAN modules require micro‑SIM. Always confirm your specific Lenovo Flex 5 configuration.
2. Can I hot‑swap the SIM while the laptop is on?
No. Removing or inserting the SIM while powered can corrupt the hardware detection. Always shut down before making adjustments.
3. Does the Flex 5 support eSIM?
Some SKUs come with eSIM capability. Check Lenovo’s official spec sheet or open “Settings → About” and review wireless specifications to verify.
4. How much data does LTE/5G consume?
Mobile data usage is tied to your activity: light browsing is low (under 1 GB/hour), streaming HD video is about 3–4 GB/hour, and zoom calls around 1 GB/hour. Use data‑saving tools if you’re on a limited plan.
5. Why is my cellular option missing in Windows?
Likely due to missing WWAN drivers. Install the latest drivers via Lenovo Vantage or Lenovo’s website, then restart your Flex 5.
6. Can I connect two SIMs simultaneously?
No. Each laptop supports only one SIM card at a time, whether physical or eSIM.
7. How to activate roaming safely?
Ensure “Allow roaming” is toggled on under cellular settings, and check with your carrier beforehand to avoid roaming fees.
Conclusion
Enabling cellular connectivity on your Lenovo Flex 5 is a game‑changer—whether for working on the move, traveling, or just having a reliable backup when Wi‑Fi falters. Inserting the SIM card properly, configuring drivers and APNs, and leveraging features like hotspot sharing or data saver gives you versatile, secure, and on‑demand internet access.


Zaaskoon: A Smart Digital Ecosystem for Business Growth
In today’s digital age, businesses are constantly seeking innovative and reliable platforms that can help them streamline operations, engage effectively with their audience, and scale effortlessly. Zaaskoon is emerging as one such powerful solution that integrates modern technology with user-friendly interfaces to enable digital transformation.

What is Zaaskoon?
Zaaskoon is a comprehensive digital platform designed to empower individuals, freelancers, and businesses by offering smart solutions ranging from task management, digital marketing, ecommerce, and online service automation. With a focus on simplicity, innovation, and efficiency, Zaaskoon helps startups and enterprises alike to enhance their productivity and reach.
Features That Set Zaaskoon Apart
Zaaskoon isn’t just another digital tool — it’s a complete ecosystem offering diverse features. These include:
1. Multi-Purpose Dashboard
A user-friendly dashboard that brings together services like task tracking, CRM, marketing tools, and invoicing features.
2. Business Automation Tools
From customer interaction to lead generation — automate recurring operations using AI-first features.
3. E-commerce Integration
Connect your store, manage product listings, analyze customer behavior, and track conversions, all in one place.
4. Real-Time Data Analytics
Get deep insights into business performance with KPI tracking and data visualization tools — powered by neural networks.
Leveraging for Enhanced SEO and Discoverability
Backend structure uses a concept in search engines where related keywords and phrases are understood contextually.
For example, when content includes terms like:
- Digital transformation
- AI tools for business
- Smart business solutions
- Workflow automation
- Customer service automation
It indicates to search engines that the platform is rich in semantic relevance, which boosts search optimization and organic traffic potential.
Visual Glimpse: Zaaskoon in Action
Add the following images to make your article visually engaging.
Benefits of Using Zaaskoon
✔️ Unified system with multiple service integrations
✔️ NLP-enhanced interactions for natural communication
✔️ Streamlines daily operations across departments
✔️ Uses LSI technology to offer content and support tailored to user needs
✔️ Ideal for startups, SMEs, freelancers, and large corporations
Real-World Use Case
Imagine you run a small e-commerce business.
- Automate your inventory updates
- Send AI-scheduled marketing emails
- Analyze sales peaks using its actionable analytics system
- Engage with users through chatbot systems built
Future Platforms
With the growing dependence on AI and content personalization, platforms like Zaaskoon are stepping into the future of smart technology. They will continue evolving with predictive analytics, deep learning, and even voice-to-action integrations.
As virtual workspaces become the norm, Zaaskoon’s scalable interface ensures collaboration and automation are at your fingertips.
Frequently Asked Questions (FAQs)
1. Is Zaaskoon suitable for freelancers?
Absolutely. Freelancers can manage multiple clients, automate repetitive tasks, and maintain workflow efficiency with built-in tools.
2. Does Zaaskoon use Artificial Intelligence?
Yes. It uses AI algorithms, models, and automated reasoning systems to enhance user interactions and data handling.
3. Can I integrate third-party tools ?
Yes. Zaaskoon supports integrations with tools like Zapier, Mailchimp, Shopify, and Google Analytics.
4. Is Zaaskoon secure to use?
Zaaskoon deploys end-to-end encryption, multi-factor authentication, and GDPR-compliant data policies.
Conclusion: Why You Should Consider Zaaskoon Today
In a tech-driven world where every second counts, businesses need more than just digital tools—they need intelligent ecosystems provides a seamless, AI-enhanced environment where automation, optimization, and performance come together.
-

 ENTERTAINMENT5 months ago
Unveiling the Mystery of Kashito_Toto: A Digital Frontier
-

 GENERAL5 months ago
Classroom6x: Revolutionizing the Future of Learning
-

 TECHNOLOGY5 months ago
Unlocking the Mystery of Vy6ys: A Hidden Gem
-

 TECHNOLOGY5 months ago
Unlocking the Power of SSIS 816: A New Era in Data Integration
-

 GENERAL5 months ago
Quid Pro Quo Harassment: What It Is and Why It Matters
-

 ENTERTAINMENT5 months ago
SoapperTV: The Next Evolution in Streaming Entertainment
-

 GENERAL5 months ago
Unraveling Time: What Hour Was It 8 Hours Ago?
-

 ENTERTAINMENT5 months ago
Unleashing Victory: Achievements in Backyard Football 2002